Installation
|
|
|
|
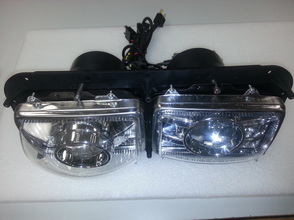
New Xenon Hid High Low & LED High Beam
|
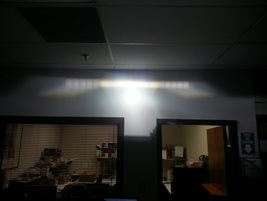
LED High Beam Over Flapper High Beam Pattern
|
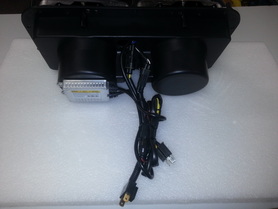
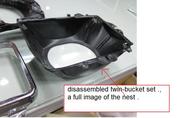
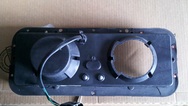
Bucket Back
|
Our newest models no cutting needed.
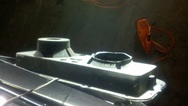
First: Remove Chrome rings around bulbs then remove Seal Beam lamps then Cut Aluminum Nest to a larger hole .
 Nest Cut Out Nest Cut Out
|
Nest Cut out |

High Beam High/Low Projector |
|
|
Our newest models no cutting needed.
|
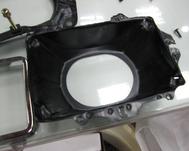
Second : Cut the Bucket (behind seal beams) Below Low Beam both sides to allow projector to fit
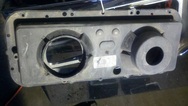
Bucket Cut Out |
Bucket Cut Out |
Bucket Cut Out |
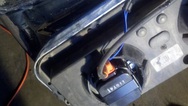
Bulb Installed |
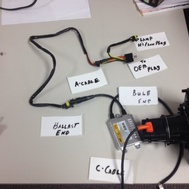
Wiring
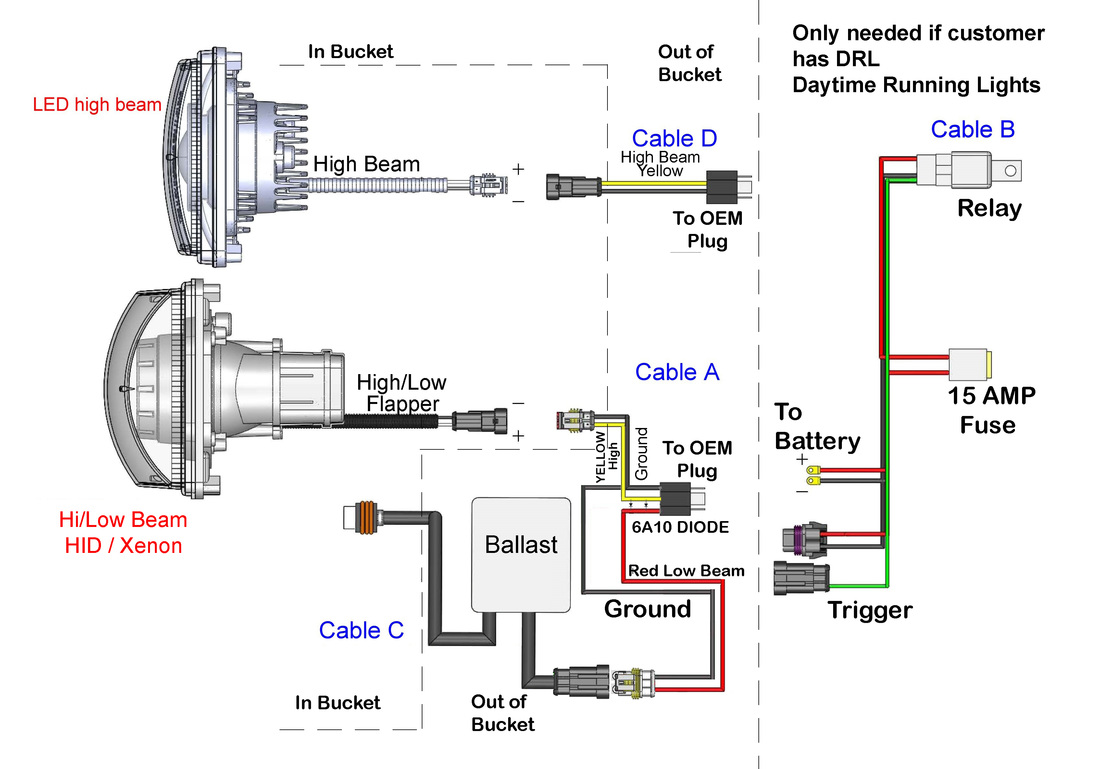
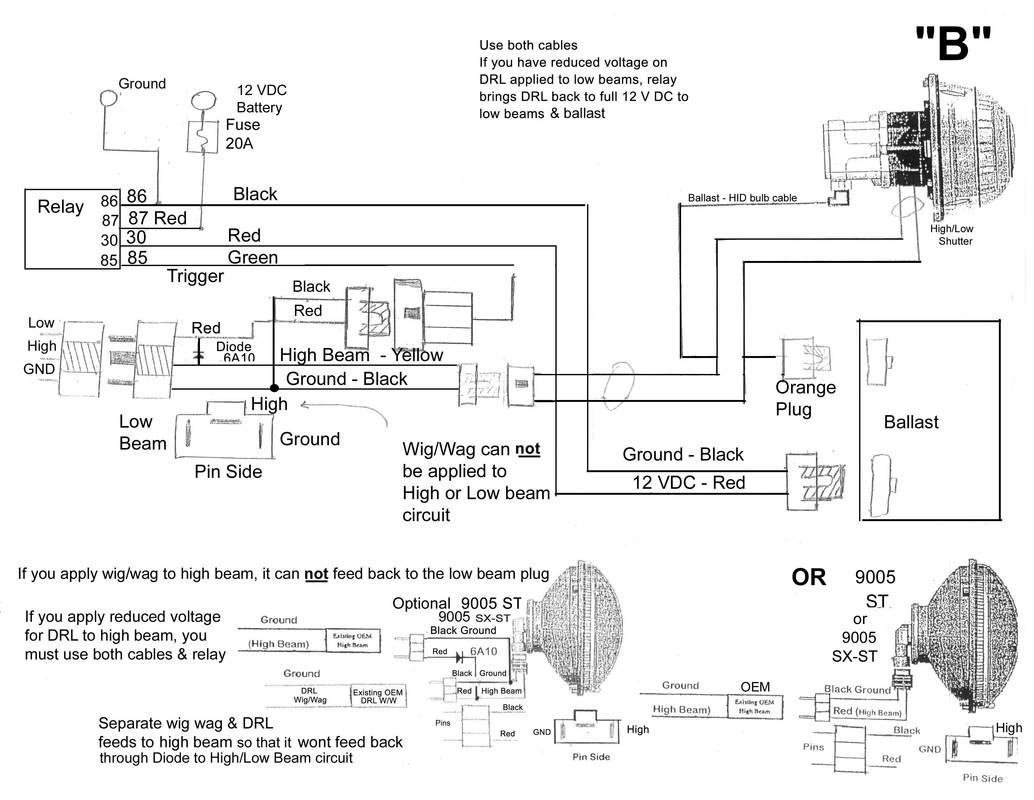
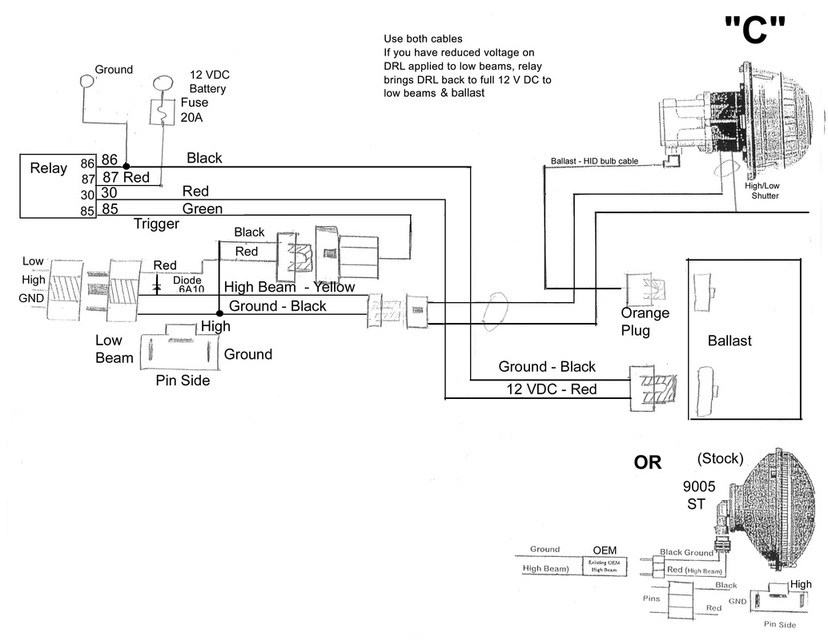
Connect: - Power Cable A to OEM Original Bulb Plug , Then into Ballast and into High Beam Flapper Plug on Low Beam Housing ,
Connect: the LED Bulb plug adapter in to OEM Plug
Wig Wag feature must be disabled second the Reduced Voltage DRL Daytime Running Lights must be Disabled or use relay cable B kit to attach to 12 v source , Ballast can't handle reduced voltage or pulsating voltage .
Connect: the LED Bulb plug adapter in to OEM Plug
Wig Wag feature must be disabled second the Reduced Voltage DRL Daytime Running Lights must be Disabled or use relay cable B kit to attach to 12 v source , Ballast can't handle reduced voltage or pulsating voltage .
Denzo Ballast Limited supply replaced by New EIKO Ballast |
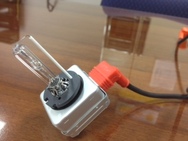
D1S Xenon Bulb EIKO for both Ballast, Bulb# 312010 |
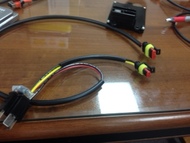
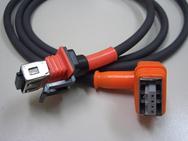
Old A-Cable Power Cable for Denzo Ballast |
C-Cable Bulb to Ballast for Denzo Ballast obsoleight new part #9122014 EIKO Ballast with cable |

Old A-Power Cable to Adapter
to New EIKO Ballast from a old Denzo ballast system |
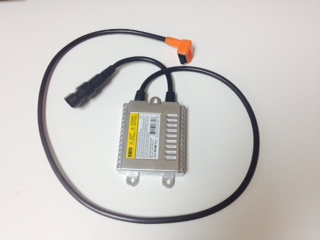
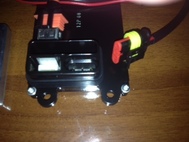
NEW EIKO Ballast & B2B Cable
Part# 9122014 |
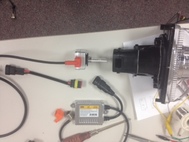
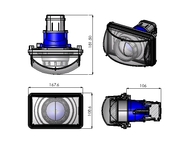
Ballast, D1S, Projector Assembly |
Complete Circuit of Xenon
|
RELAY for B-cable to supply full 12v to ballast if needed eliminated in new system
|
|
|
|
|
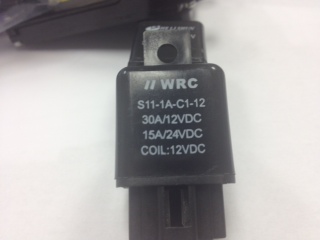
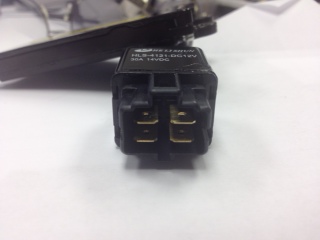
Newest Relay S11-1A-C1-12 30A /12VDC
|
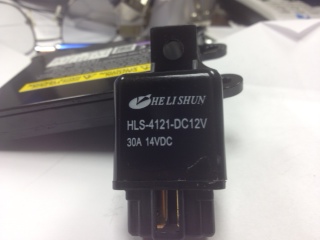
Original 2 Relay HLS-4121-DC-12V 30A /12VDC
|
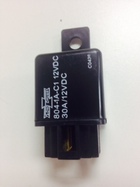
Original Relay 804-1A-C1 12VDC
30a /12VDC |
Pin view same on all versions
|
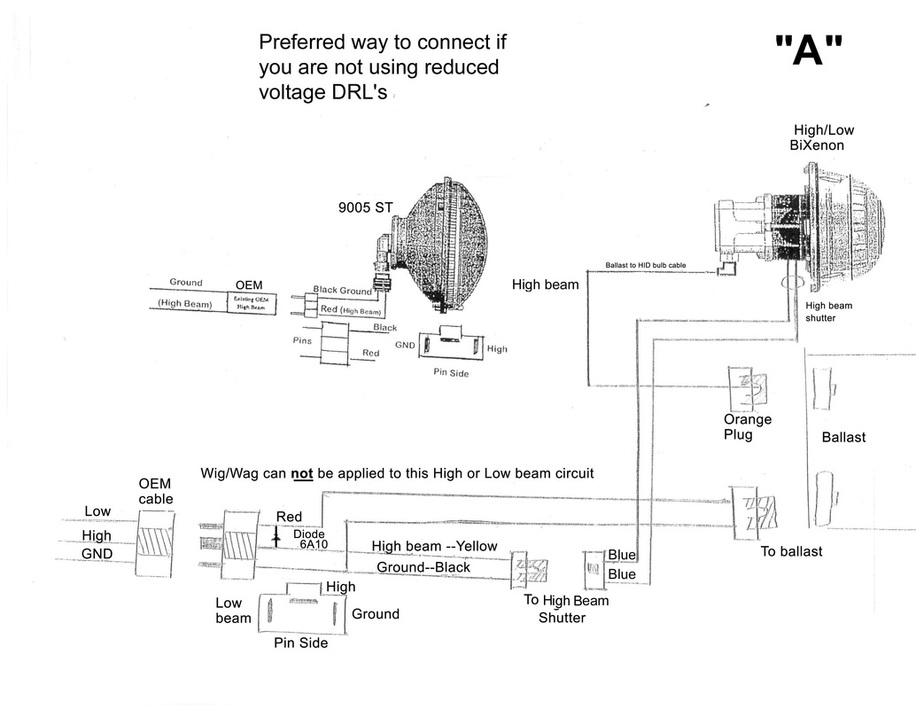
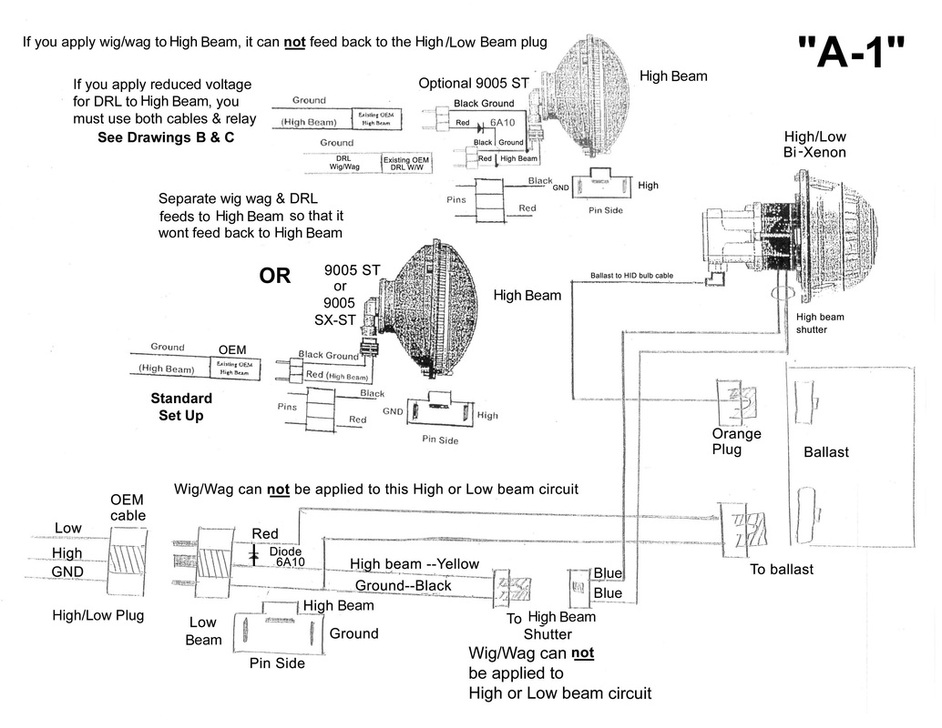
Schematics A , A1 , B , C
|
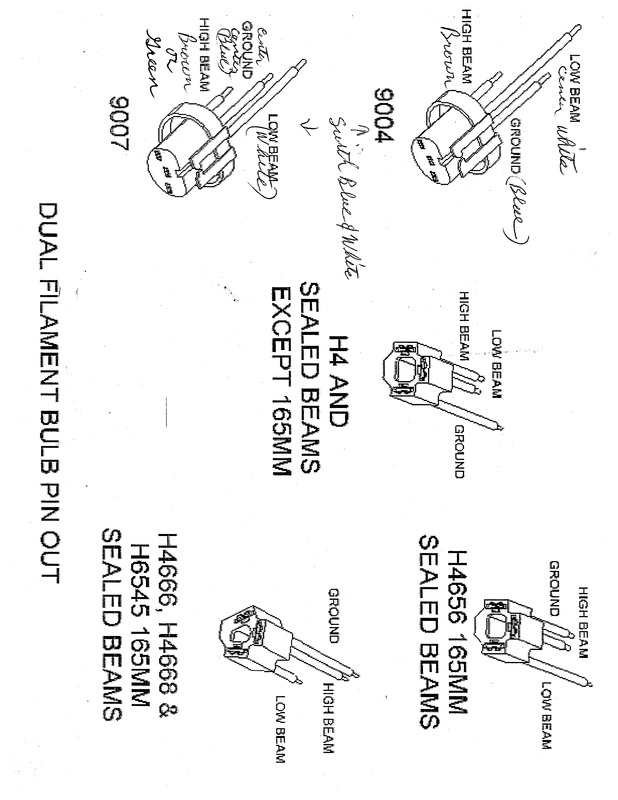
Plug Pin Out
|
Bruce Chandler
www.BrightHeadlights.com
2764 Pleasant Rd. #10652
Ft. Mill, SC. 29708-7257
704-564-3383 Cell
704-575-1964 Accounting
[email protected] email
Since 2001
www.BrightHeadlights.com
2764 Pleasant Rd. #10652
Ft. Mill, SC. 29708-7257
704-564-3383 Cell
704-575-1964 Accounting
[email protected] email
Since 2001